With
a neoprene rubber gasket, a stainless-steel shield, and a few clamps, the same
cast iron connections could be done faster and with far less training. On top
of that, this new process eliminated the need to work with melted lead. By the 1960’s,
plumbers found that the no-hub coupling was
a superior product that was passing the test of time.
With the advent of ABS and PVC, cast iron is no longer the most
common material for new piping. However, there are still many cast iron piping
systems in use today. Since they are so durable, cast iron pipes can often be
found still occupying their original installations in older buildings.
Some
cast iron is being installed new as well. For instance, some designs may
require cast iron for its lower flow noise, especially in multi-story
residential projects. Also, some local building codes still specify cast iron
for various applications. Whether repairing an old cast iron pipe or building a
new commercial project, no-hub couplings are a safe and efficient option.
Components and Tools Needed
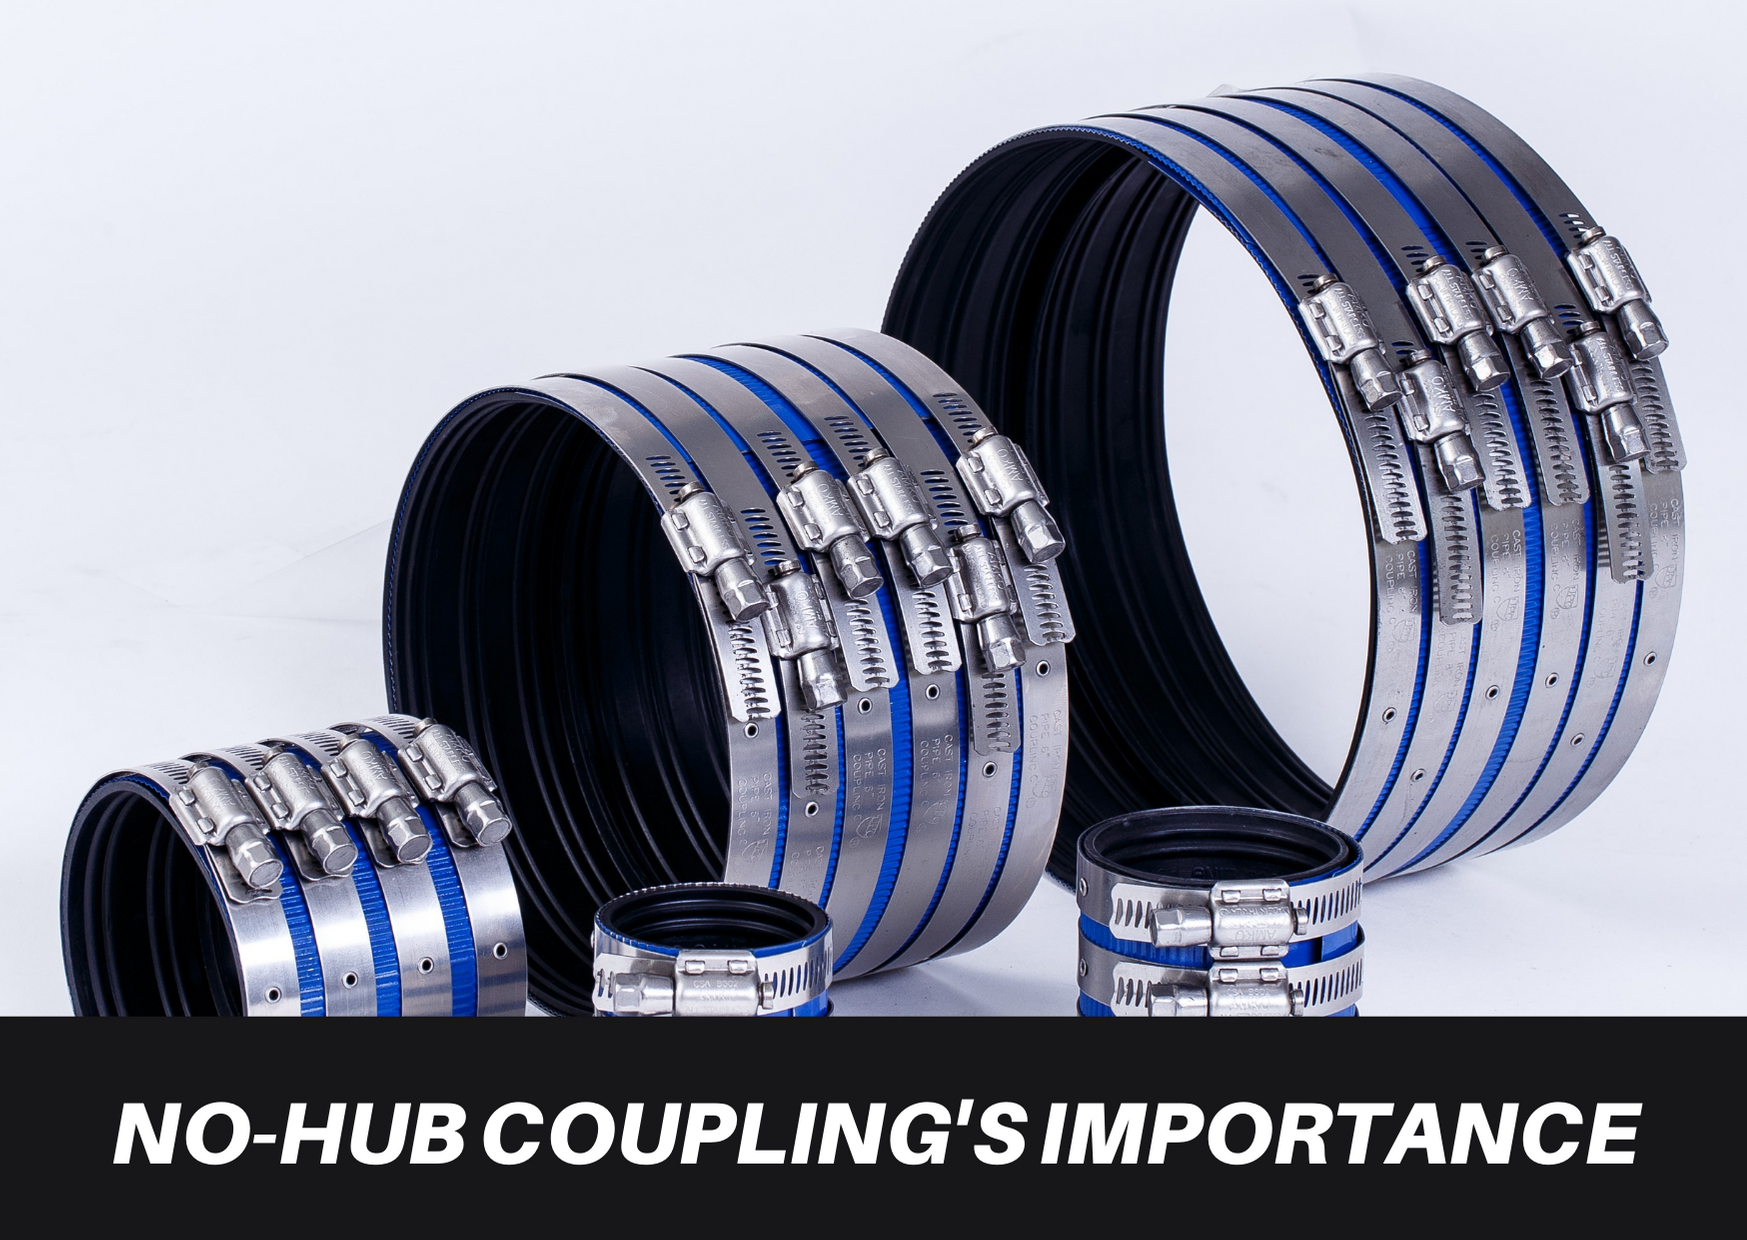
- Neoprene
rubber gasket with stainless-steel shield
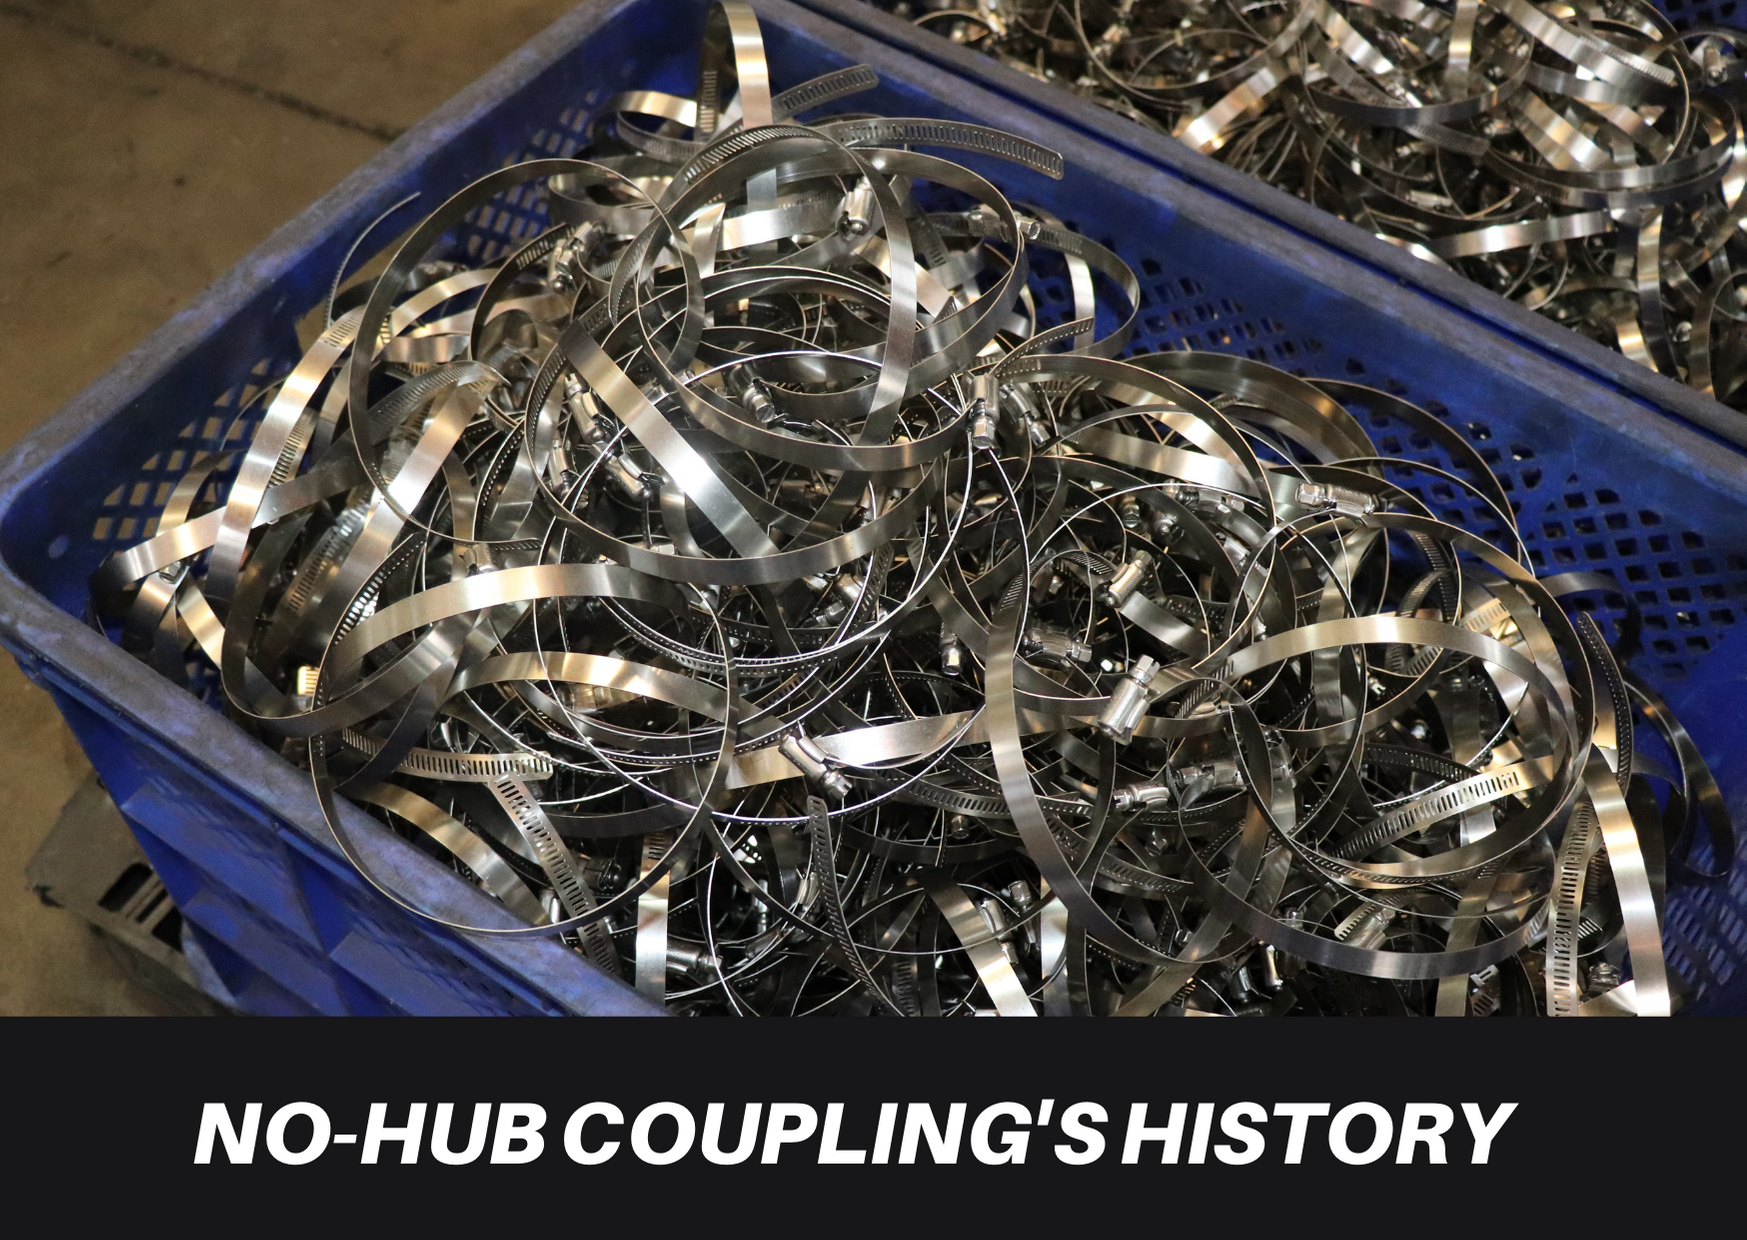
- Interlocking
worm clamps
Note: Depending on the type and size of the coupling, you will need
between 2 and 6 worm clamps.
Note: Light-duty couplings should be torqued to 60 inch-pounds and
both medium and heavy-duty couplings should be torqued to 80 inch-pounds.
Note: You will need a 5/16” bit for light or medium-duty couplings and
a 3/8” bit for heavy-duty couplings.
Installation Steps
Step 1: Slide the worm clamps over one end of the pipe and keep
them handy.
Step 2: Push the rubber gasket and shield onto one end of the
pipe. The center lip on the inside of the gasket will provide a natural stop.
Step 3: Fold down the rubber gasket to the center lip.
Step 4: Center the pipes together and push the second pipe end into the
connection.
Step 5: Fold the rubber gasket back onto the other end of the pipe.
Step 6: Slide the shield over the rubber gasket.
Step 7: Slide the worm clamps over the shield. You may need to
loosen the worm clamps to get them to slide easily.
Step 8: Finally, tighten the worm clamps using a torque wrench with a
hex-head socket bit. Make sure you do not exceed the recommended torque on the
screws. If you torque them too tightly, the excess pressure may eventually
weaken and crack the pipe.